


 This must now dry before you can go on. So now is when we went out and played in the leaves and collected for the rest of the picture. I took the colored leaves right off the trees because they were still fresh and not dried out and crumbly. Pinch off the stems.
When the paint is dry, give the child the leaves, and a small container with white glue and let them "paint" glue on the back of the leaves and glue on their "tree" and falling on the ground.
This is a great time to talk about fall and what happens to the leaves, colors, back and front. Small children will need to have it explained that the fingers of their hands are the branches of the tree and the arm is the trunk. It's very interesting to note how each child interprets it. Some will just glue leaves all over the place willy, nilly while others will be quite particular about keeping all the leaves on the top of the tree while others will make very particular lines of leaves falling to the bottom.
You can finish it off with some cotton ball clouds.


For supplies you'll need:
-coffee filters, tempra paint, green pipe cleaners, long straws
I used liquid tempra paints and mixed springy type colors like soft purples, blues, pinks and yellows. Mix only about a tablespoon for each color. Now in tiny jars or small containers such as yogurt cups, I mixed them thoroughly down with water. I used about 1/4 teaspoon of color to about 3 or 4 tablespoons of water. You want the mix to be very watery and not thick at all. This is what will make the coffee filter absorb the colors and blend them. If the paint is thick the colors will not be blended by the filter.
Now just let the kids paint a filter only on the inside. Explain to them to also do up the sides and to try not to squash down the sides. Although if they do, as preschoolers will, don't worry about it. It just won't keep the ruffle edging. I supervised this part closely as the younger ones tended to want to just keep painting in the same spot and then you end up with a big puddle underneath the filter.
When they are happy with their painting, the filter needs a day to dry (especially those who were very generous with their paints :vP ). I put them into small cereal bowls to help them keep their shape as some of the children had flattened them out. 500ml yogurt containers would also work. Anything like that.
When dry, have the child thread a long pipe cleaner through the straw. This gives it strength so it doesn't flop over. Have it flush on the bottom end. At the top, where you have extra pipe cleaner coming out the top of the straw, place tape over the pipe cleaner and tape to the back of the flower. You'll have to help here so that they don't flatten out their flower again.
Now take a long green pipe cleaner, lay it horizontal on the table, have them lay the flower stem vertical onto it and then have the child bring up the ends of the pipe cleaner together and criss cross them, so that you are actually wrappying it once around the stem. Now they can just bend a leaf shape out of each side and wrap the end once around the stem to secure.
Voila, springtime come early. Works for Me.
For more ideas that work check out Rocks in My Dryer

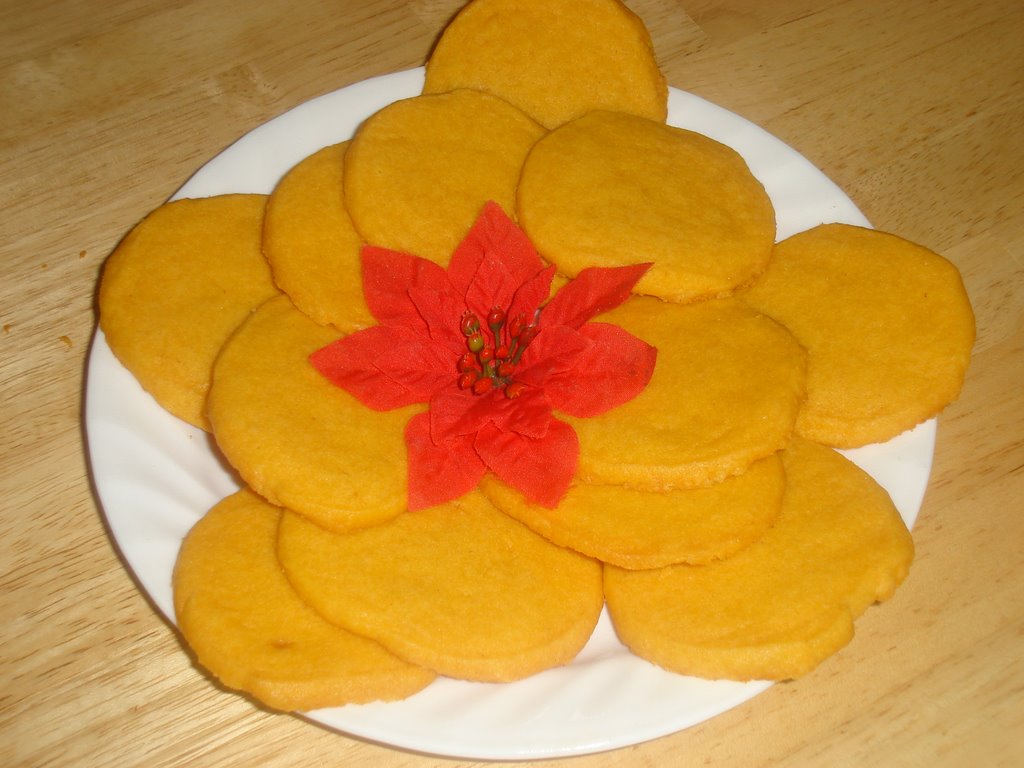
These cookies are perfect for those who cannot have a lot of sugar.
1 container (250 grams/1/2 lb.) McLaren's Imperial Cheese [the one in the red container with black lid] *Update: here is a link to this cheese. Apparently it is a Canadian product but I guess made by Kraft so I'm thinking it would be available for you south of the border!
http://www.ioriginals.net/imperialcheese.htm
1/2 lb. butter
2 cups flour
2 Tbsp. light brown or golden sugar
Bring cheese and butter to just room temperature. Mix all ingrediants together with mixer. Push into a ball in bowl, cover and refridgerate 1 hour or more.
On large square of wax paper, spread a little flour down. Place half the ball of dough on wax paper, folding the paper over the ball. Now roll into a tube like shape. Do the same with the other half of dough so that you have two rolls of dough. Place in freezer for 1 hour for easier clean slicing. Cookies will be pretty much as large as you made the roll and as thick as you slice them.
Preheat oven to 275 degrees F. Place sliced cookies on ungreased cookie sheet and bake for 20 minutes. Remove from pans immediately and cool on racks. Makes about 2 1/2 - 3 dozen cookies depending on size and thickness you make them.
If you don't consider rolling pins an instrument of torture you can roll and cut them with cookie cutters.
We also made these today with the 2 - 3 year olds:


Then I just cut out the "balls" and let them glue them where ever they wanted and gave them a hunk of curled ribbon to glue on where they wanted. Voila: handprint wreath.
With the 4 year olds I made this Christmas countdown.

So that is why I didn't get to visit to many of you today. I will catch up tomorrow.
